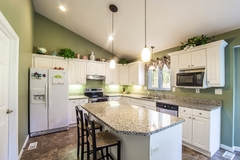
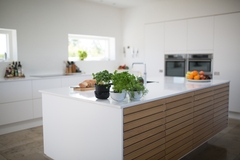
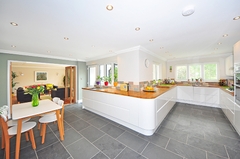
AAgroup has completed a lot of projects with high-quality requirements for interior fit-out. Our team is constantly improving to bring out the highest quality standards while achieving the most reasonable budget.
Plasterboard fixing is a critical step in creating strong and visually appealing interior walls and ceilings. Proper material selection, measurement, planning, and installation techniques are essential for achieving high-quality results. By following these techniques and paying attention to detail, you can ensure a sturdy and polished plasterboard installation that forms a solid foundation for further interior finishing. Understanding the techniques and considerations for plasterboard fixing is essential for achieving high-quality results.
Material Selection: Choosing the right type and thickness of plasterboard is crucial for the intended application. Standard plasterboard is suitable for most interior walls and ceilings, while specialized types like moisture-resistant or fire-resistant plasterboard are used in areas prone to humidity or fire risk.
Measurement and Planning: Accurate measurements and planning are essential to minimize waste and achieve precise placement of plasterboard sheets. Calculate the required number of sheets and cut them to size beforehand, considering openings for doors, windows, electrical outlets, and fixtures.
Wall and Ceiling Preparation: Ensure that the framing or stud work is in place and properly aligned before starting plasterboard fixing. Wall and ceiling surfaces should be clean, level, and free from debris to ensure a smooth installation.
Positioning and Fixing: Start by positioning the first sheet of plasterboard against the starting corner or wall. Fix it in place using screws or nails, ensuring they are driven flush with the surface. Use specialized drywall screws for improved holding power and reduced chances of popping out over time.
Staggering Joints: To achieve a stable and uniform surface, stagger the joints between plasterboard sheets. Avoid aligning vertical joints on adjoining walls and use butt joints (where two non-tapered edges meet) instead of tapered edge joints (which can be more difficult to conceal).
Reinforcement: For ceilings or high-stress areas, consider installing horizontal noggings or blocking between studs to provide additional support and prevent sagging.
Cutting and Fitting: Cut plasterboard sheets with precision, using a utility knife or a specialized drywall saw. Ensure a snug fit around corners, openings, and fixtures.
Taping and Jointing: After fixing the plasterboard sheets, apply joint tape to the butt joints and corner beads to reinforce and strengthen the seams. Apply joint compound over the tape and joints, feathering it out to achieve a smooth finish.
Sanding and Finishing: Once the joint compound dries, sand the surface to achieve a seamless and even finish. Address any imperfections and apply additional coats of joint compound if necessary.
Quality Control: Regularly inspect the installation for proper fixing, alignment, and surface quality. Address any issues promptly to ensure the final result meets the desired standards.


